American Flag Star Stencil: DIY Crafting Guide

Creating an American flag star stencil can be a rewarding and patriotic DIY project. Whether you're sprucing up your home decor, designing custom apparel, or preparing for the next national holiday, this guide will walk you through the process of making your own star stencil at home. Not only is this activity fun, but it's also a great way to personalize your belongings with the spirit of the USA.
Materials Needed
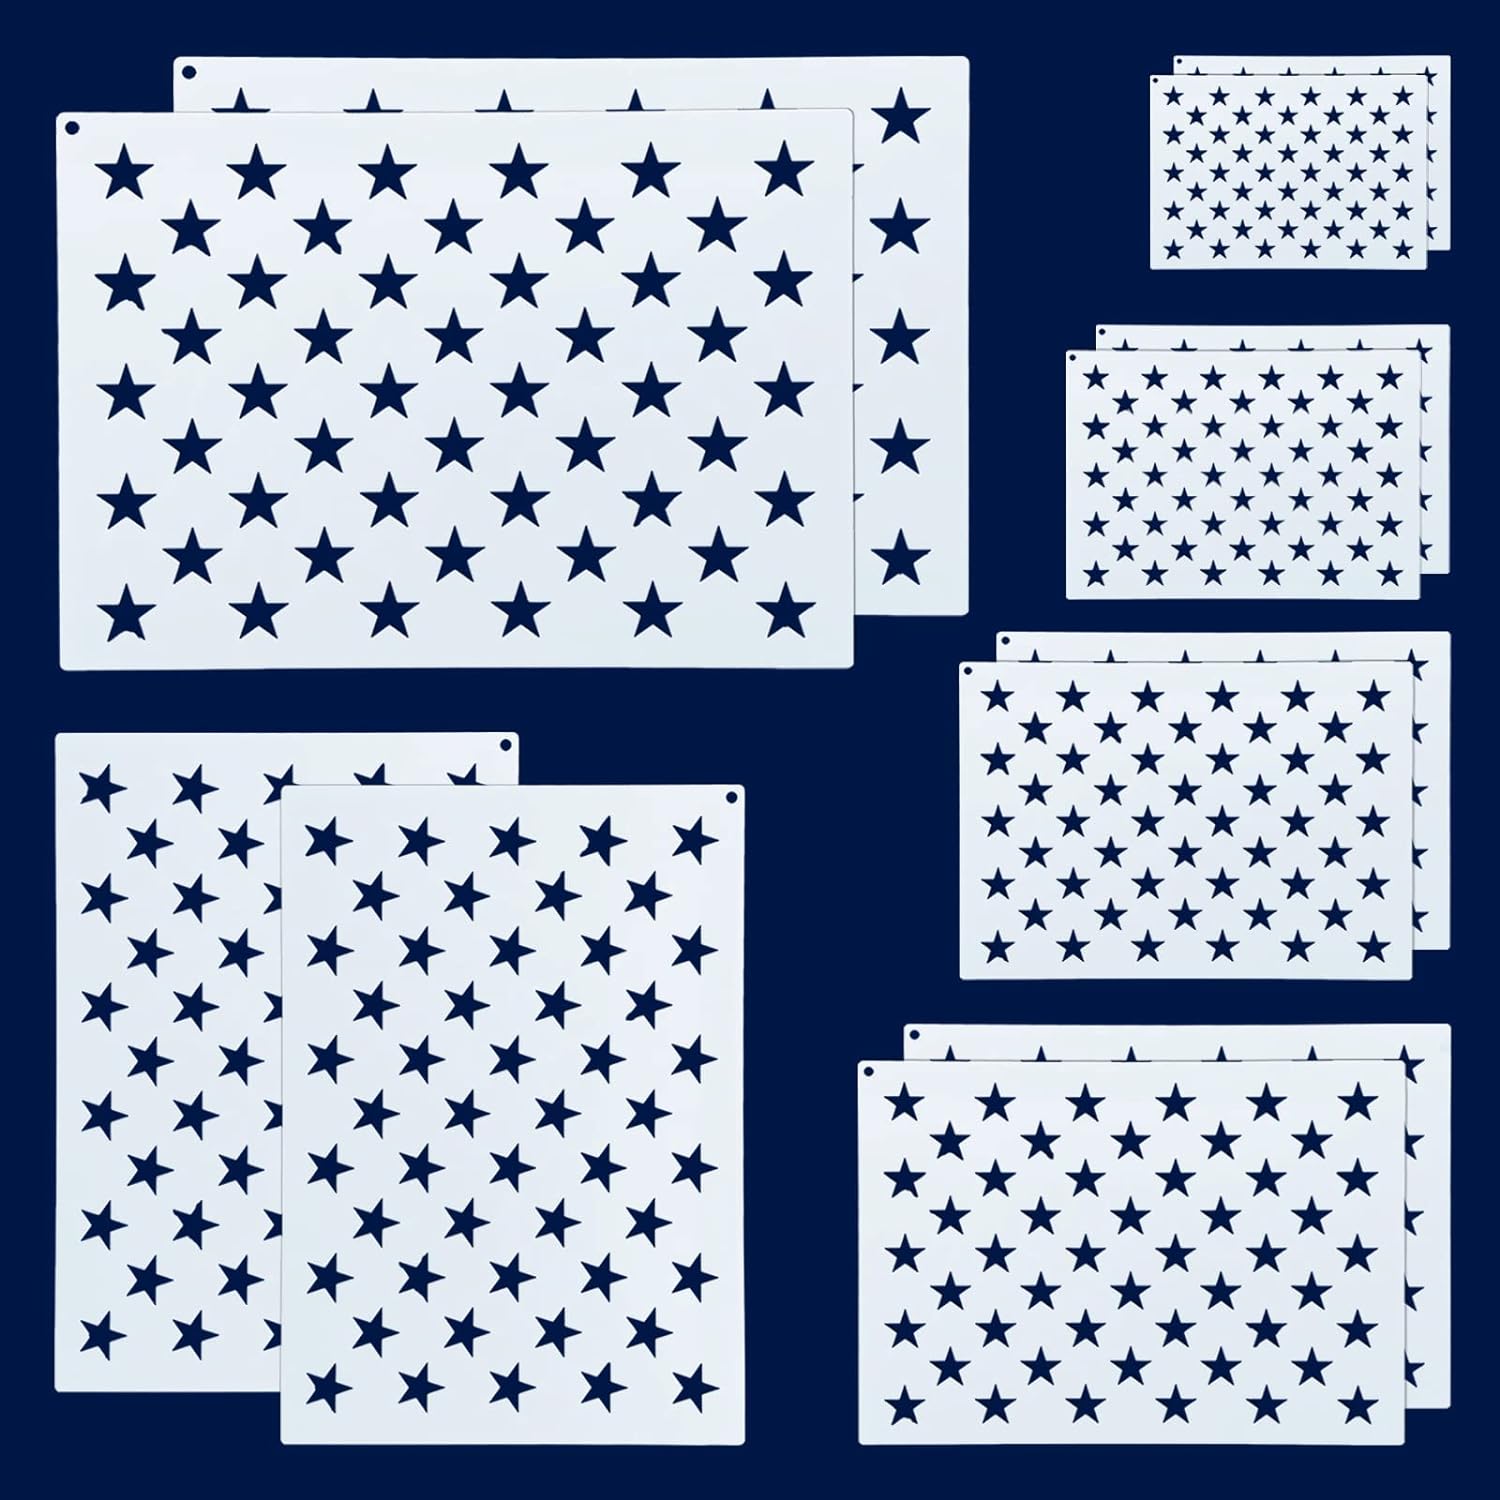
- Stencil Film or Cardstock - Choose a durable material that you can cut and reuse.
- Cutting Tool - An X-acto knife or a craft cutter like a Cricut or Silhouette machine.
- Stencils for Stars - You can either use a star template or draw your own.
- Painter’s Tape - To secure the stencil while painting.
- Acrylic or Fabric Paint - Depending on the surface you’ll be painting on.
- Sponge or Paintbrush - For applying paint through the stencil.
- Scissors - For trimming your stencil or cutting out basic shapes.
Step-by-Step Guide to Create Your Stencil
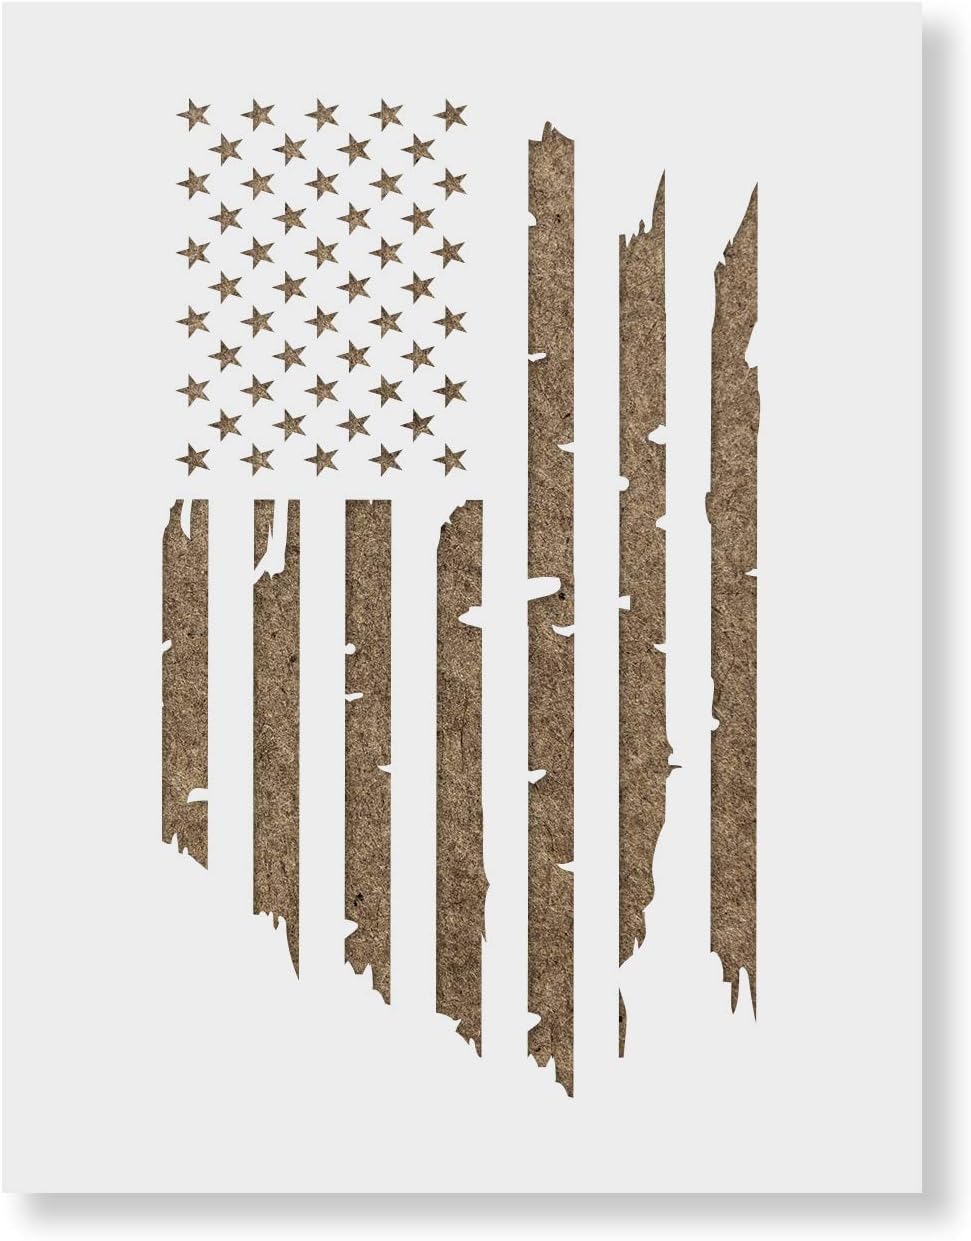
Designing Your Star Pattern
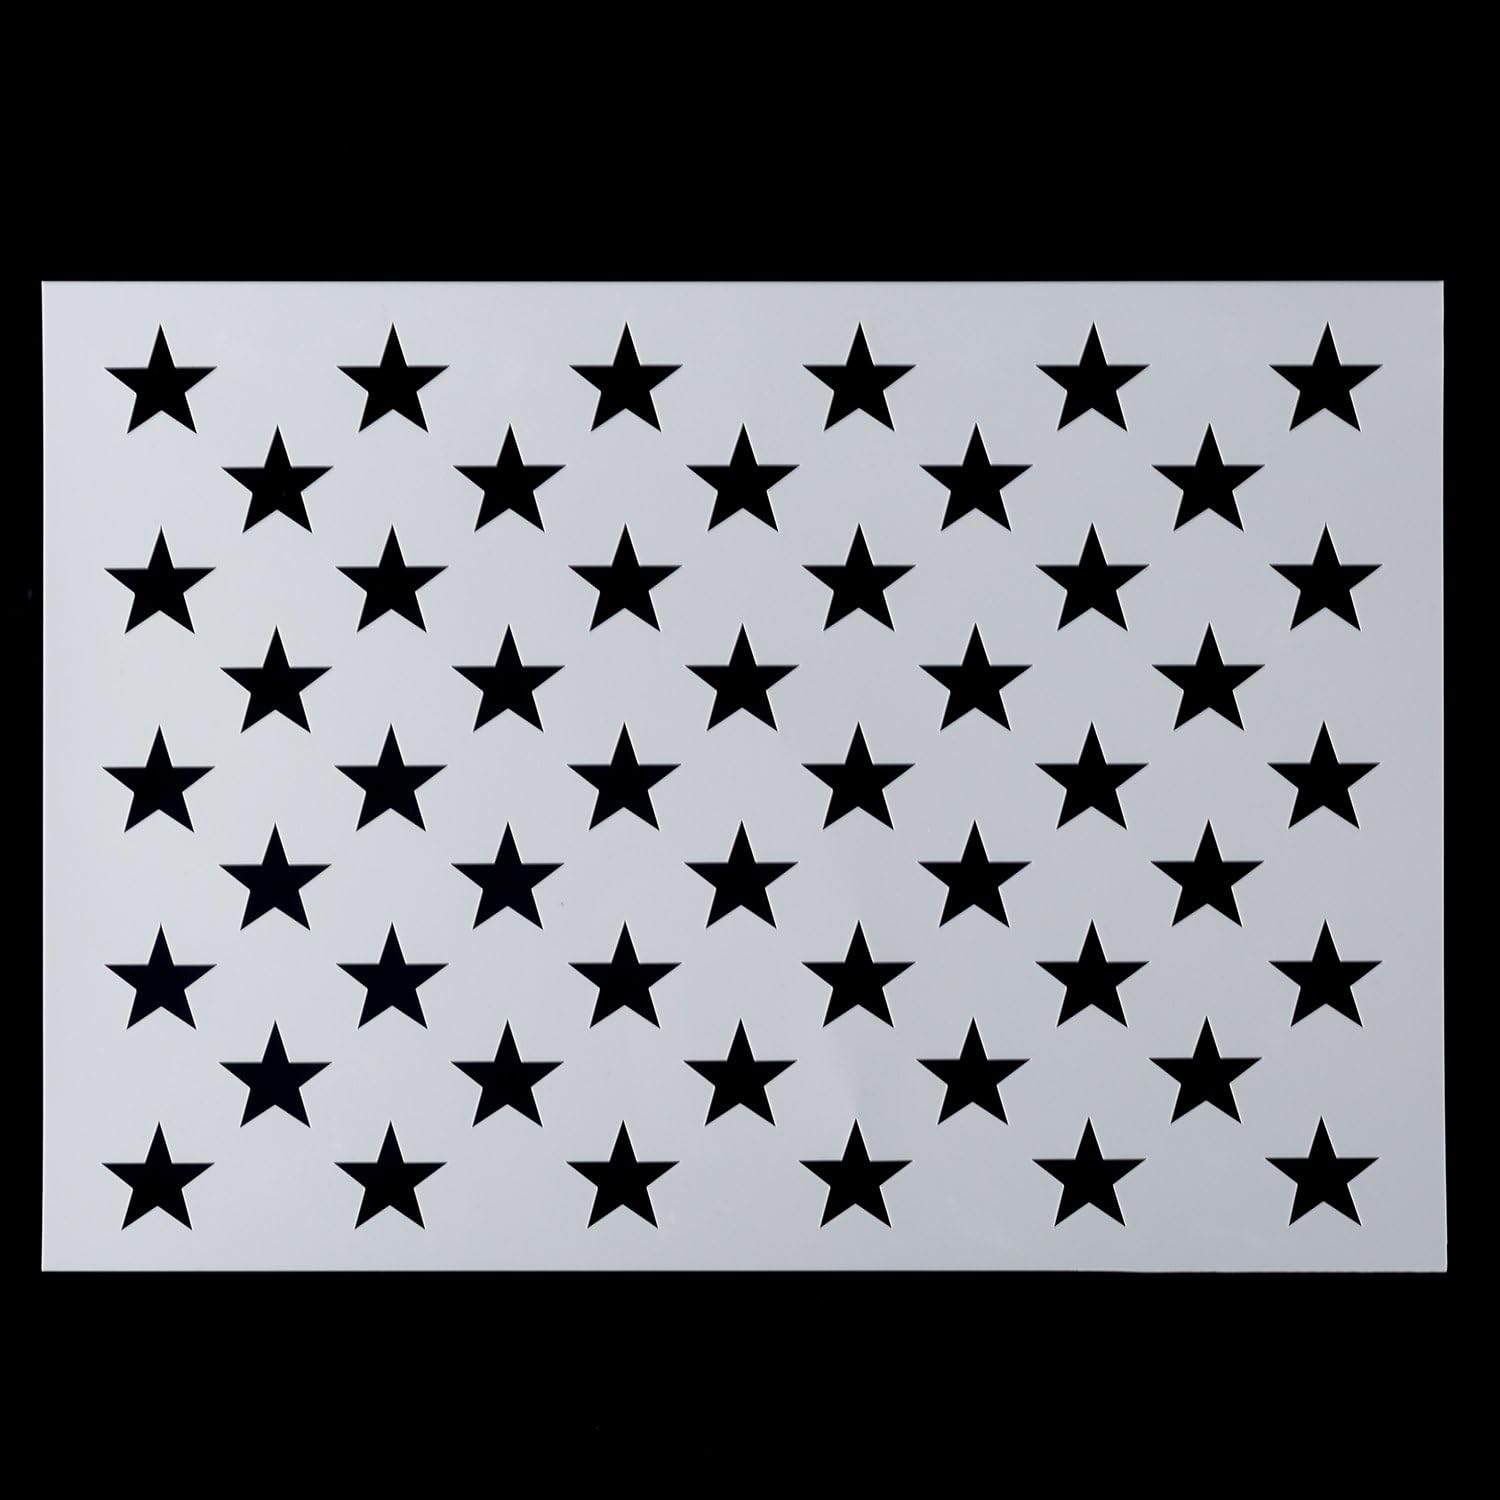
Start by deciding the size and number of stars you want on your flag. The traditional American flag has 50 stars, but you can opt for fewer if your project requires. Here’s how:
- Sketch out your design on paper first. Ensure the stars are proportionate and evenly spaced.
- Utilize a star pattern template or draw your stars manually if you want to add a personal touch.
Cutting Out Your Stencil

Once your design is ready, transfer it onto your stencil material:
- If using cardstock, trace the design and carefully cut out the stars with an X-acto knife.
- For stencil film, you can draw directly or use a laser printer for precise cutting lines.
- Use a craft cutter if available, for more intricate designs or multiple copies.
| Material | How to Cut |
|---|---|
| Cardstock | X-acto Knife |
| Stencil Film | Craft Cutter/Laser Cutter |
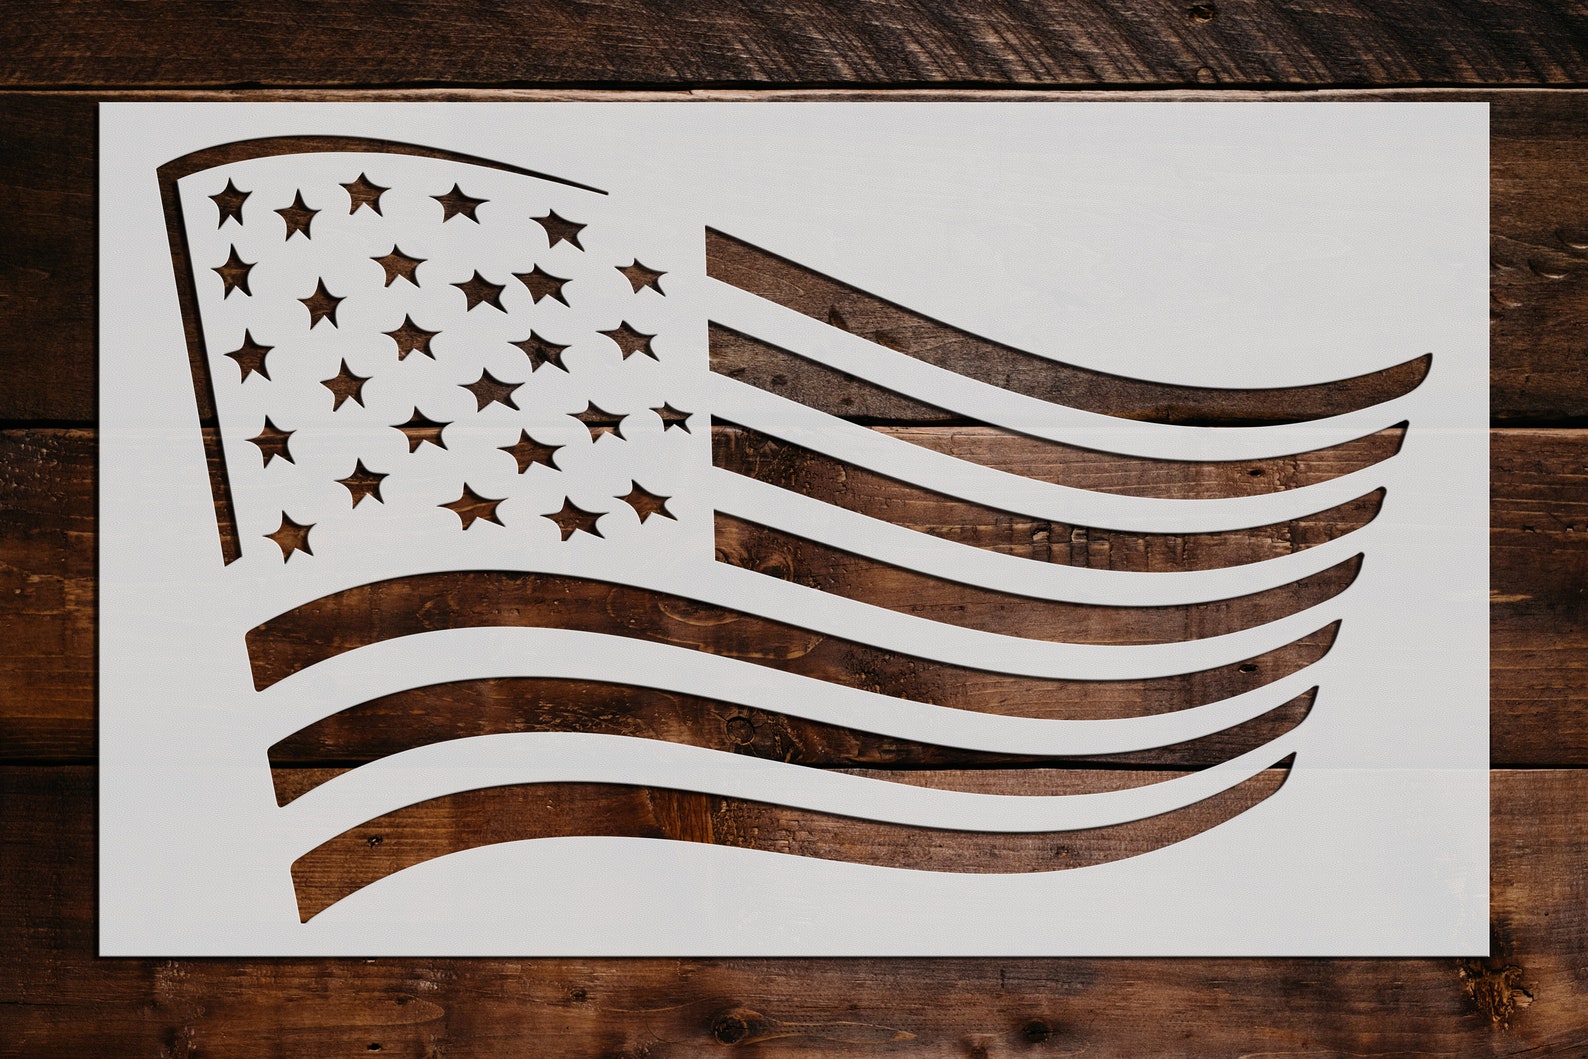
📌 Note: Cutting should be done on a cutting mat to protect your work surface and provide stability.
Painting with Your Stencil
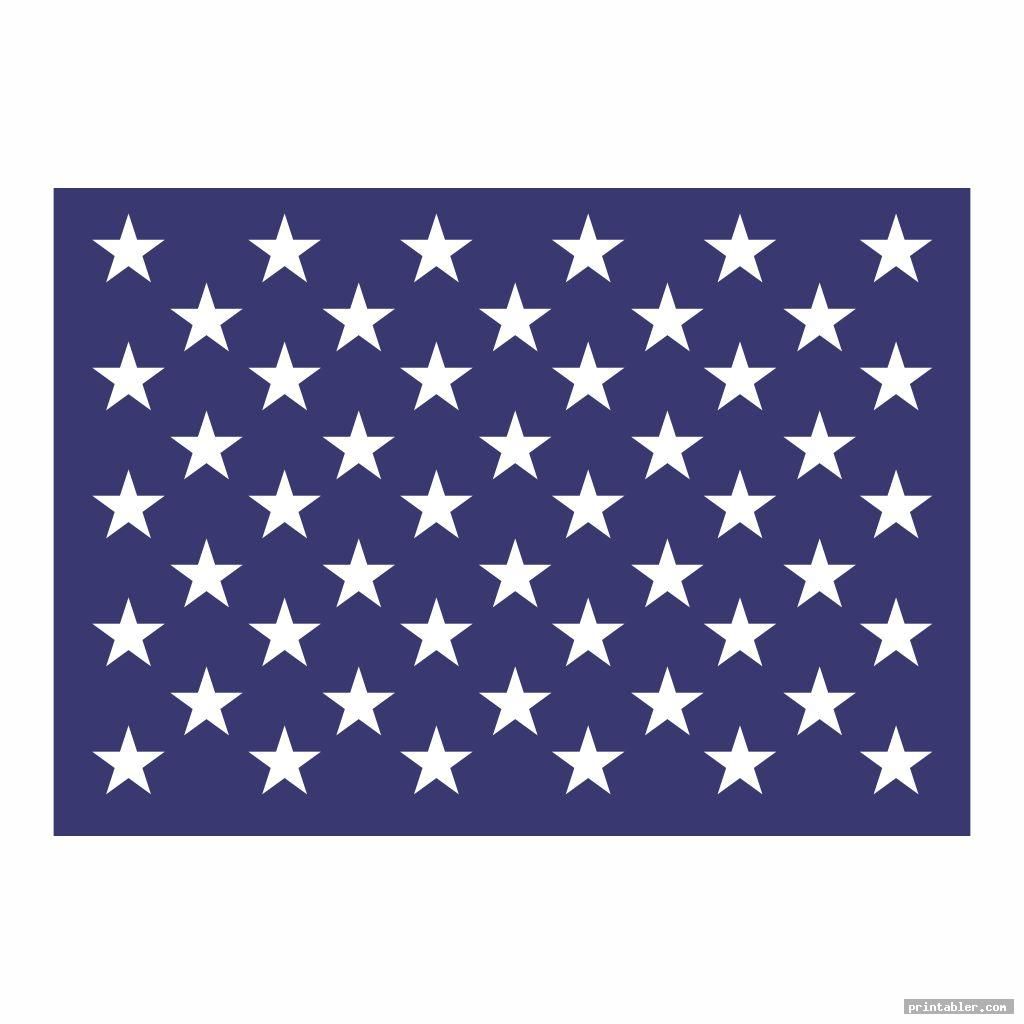
Now that you have your stencil, follow these steps to apply it:
- Prepare Your Surface - Ensure it’s clean and free from dust or grease.
- Secure the Stencil - Use painter’s tape to fix the stencil in place, especially around the edges.
- Apply the Paint - Dab or brush the paint lightly over the stencil to prevent bleeding under the edges. Less paint is more when stenciling.
- Remove the Stencil - Wait a bit, then gently peel off the stencil to reveal your design.
Here’s where you can display your creativity by choosing colors or patterns that resonate with your personal style or project theme. Remember, the stars represent our states, so consider their placement to reflect this symbolism.
🖌️ Note: For a crisp design, ensure the paint dries before moving the object. If needed, apply additional layers for better coverage.
Common Challenges and Solutions
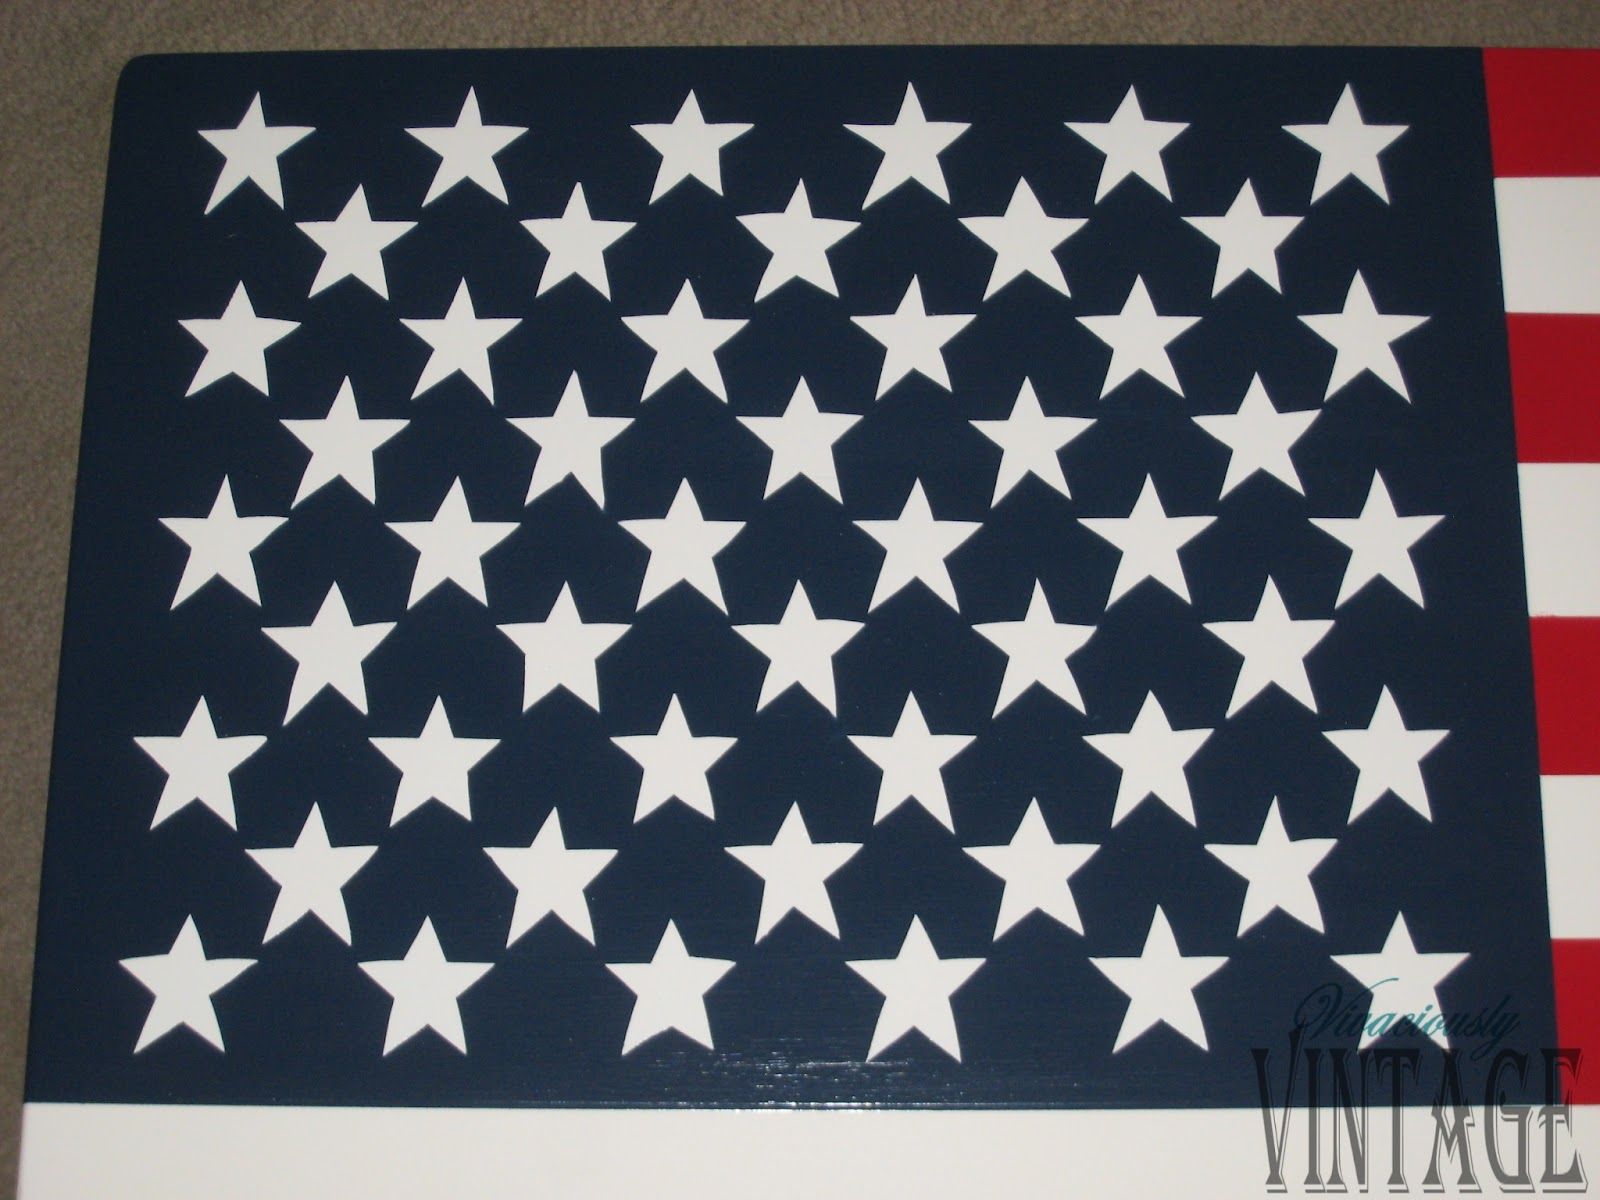
- Bleeding Paint - Use a stencil adhesive spray or light pressure with your painting tool.
- Stencil Movement - Tape the stencil down firmly and check frequently while painting.
- Inconsistent Paint Coverage - Use less paint for each application or consider a stencil brush for better control.
By following these steps and tips, you'll be able to craft a stencil that not only looks professional but also carries a touch of your personal flair. Whether you're making wall decor, customizing clothing, or painting on other surfaces, this DIY American flag star stencil will provide you with endless creative possibilities.
In wrapping up, crafting your own American flag star stencil is a straightforward project that allows for personalization and a deep sense of accomplishment. With the right materials, a steady hand, and a little creativity, you can infuse your projects with national pride or simply add a touch of Americana to your home. Remember, patience and precision are key to achieving professional-looking results. Each star you paint is a reminder of our collective history and a tribute to the values that the stars and stripes represent.
What type of stencil film is best for multiple uses?

+
Opt for Mylar or PET (Polyethylene Terephthalate) film, which is durable and can withstand multiple paint applications without tearing.
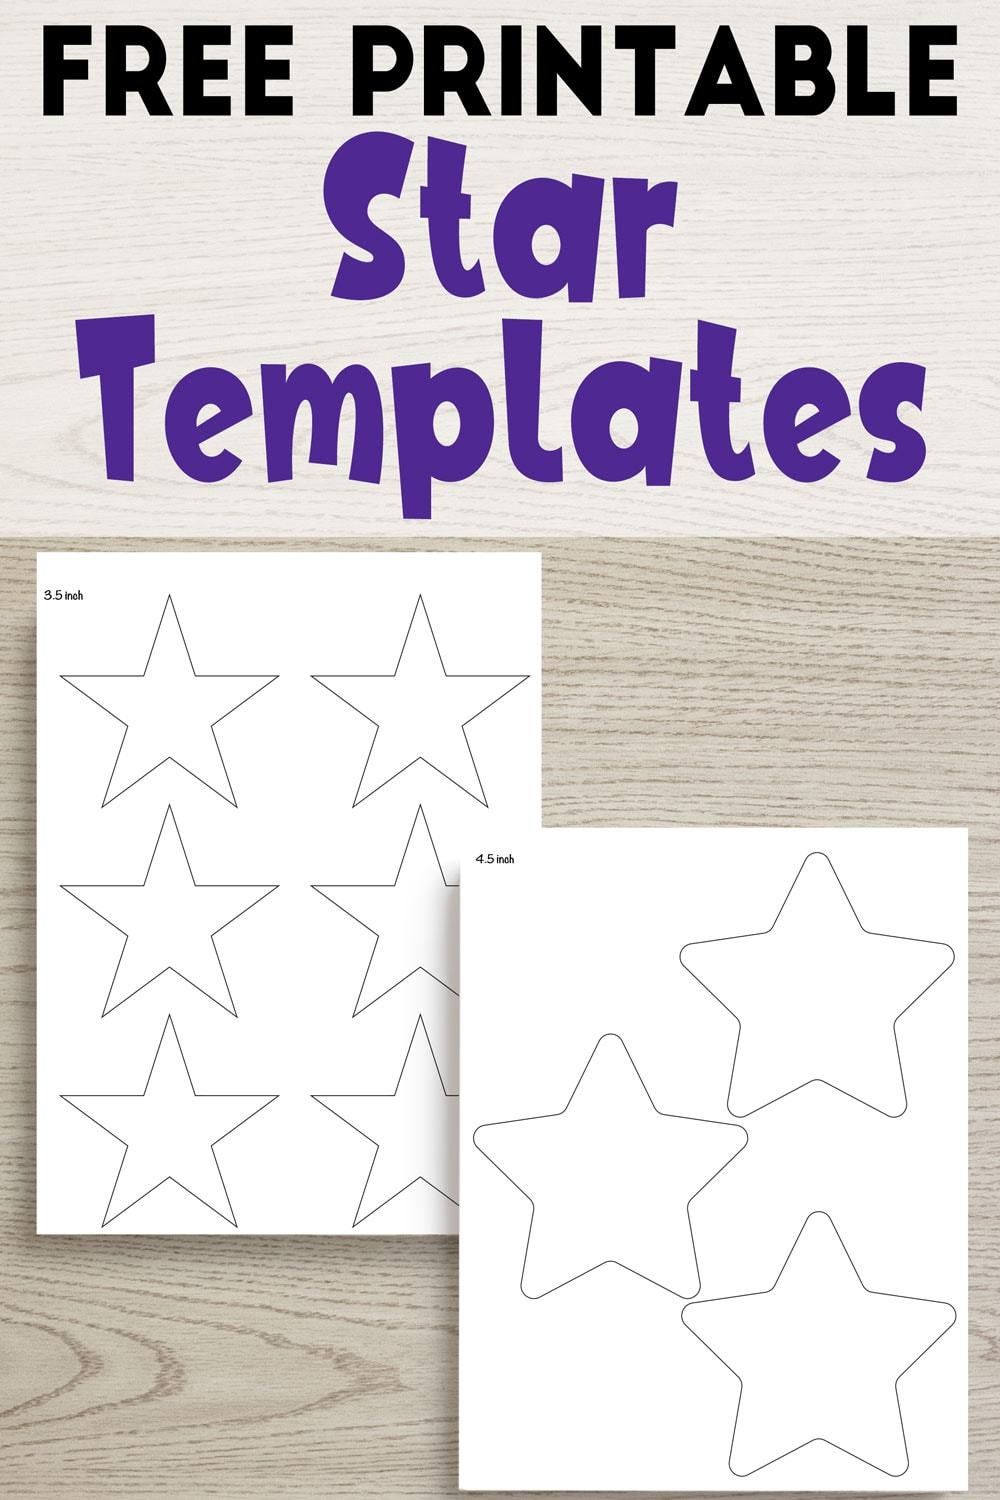
Can I use this stencil method for fabric?
+
Yes, use fabric paint that is designed not to wash out. Heat set the design afterward to ensure longevity.
How do I prevent the paint from bleeding under the stencil?

+
Lightly mist the back of the stencil with a repositionable adhesive spray, and use as little paint as possible. Also, work quickly and remove the stencil while the paint is still slightly wet.

