5 Easy Steps to Sketch September's Birth Flowers
Introduction to September’s Birth Flowers
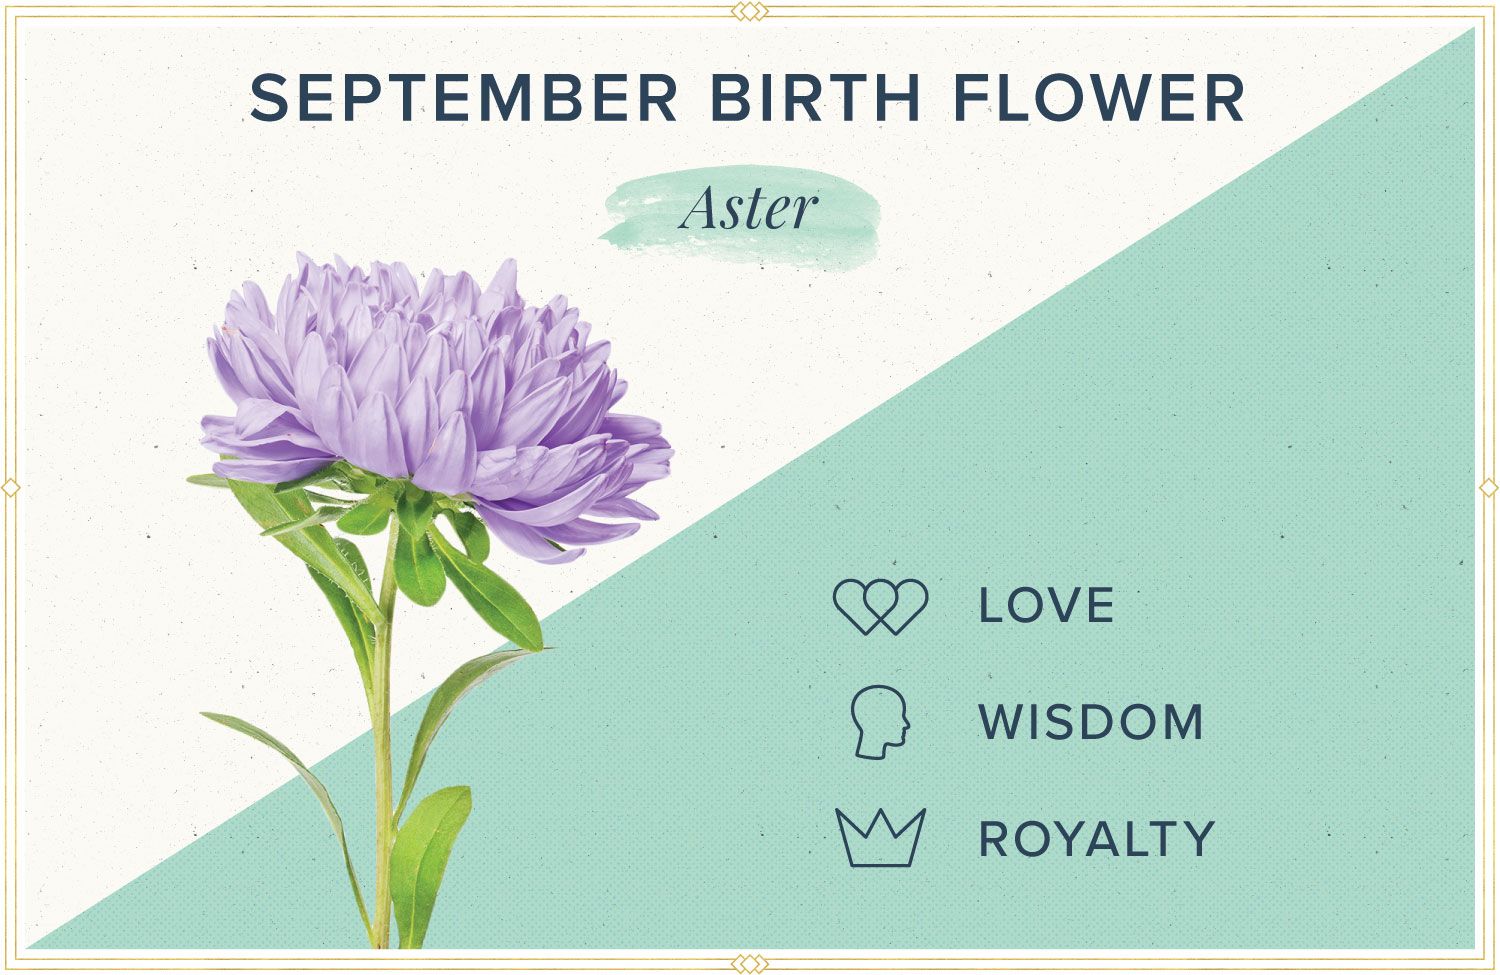
September, the month that heralds the onset of autumn, is graced by two charming birth flowers: the Aster and the Morning Glory. If you or someone dear has a birthday this month, these flowers offer a delightful way to celebrate through sketching. Here, we’ll explore the simple, yet rewarding process of sketching these flowers, which not only allows us to appreciate their beauty up close but also serves as a creative outlet and a means to connect with nature’s splendor.
Step 1: Gather Your Sketching Supplies
Before we delve into sketching, it’s crucial to ensure you have the right tools:
- Pencils - For sketching and shading. Opt for HB or 2B for smoother lines.
- Paper - Good quality sketching paper or sketchbook for practicing.
- Erasers - Both kneaded and standard white erasers for various corrections.
- Blending Tools - Tortillons, blending stumps, or even your fingers can be used.
- Pen - Optional for inking your final sketch.
- Colored Pencils or Pastels - If you wish to add color to your sketches.
🖋️ Note: Ensure you have ample natural light or a good light source to capture details accurately.
Step 2: Understanding the Flowers
Each flower has unique characteristics:
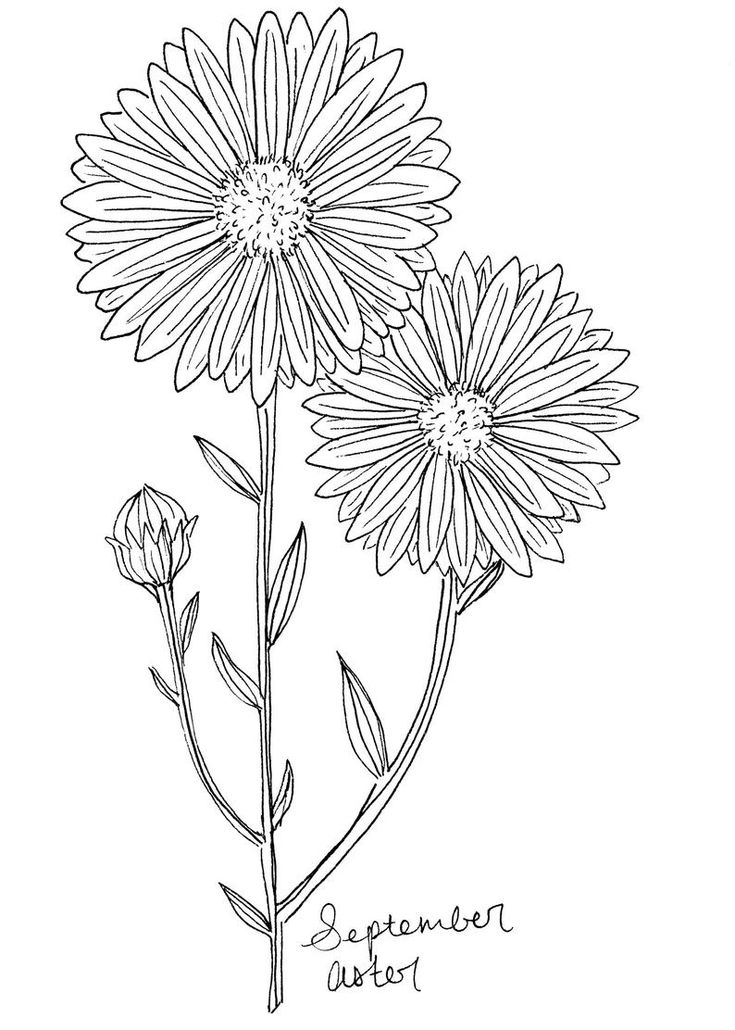
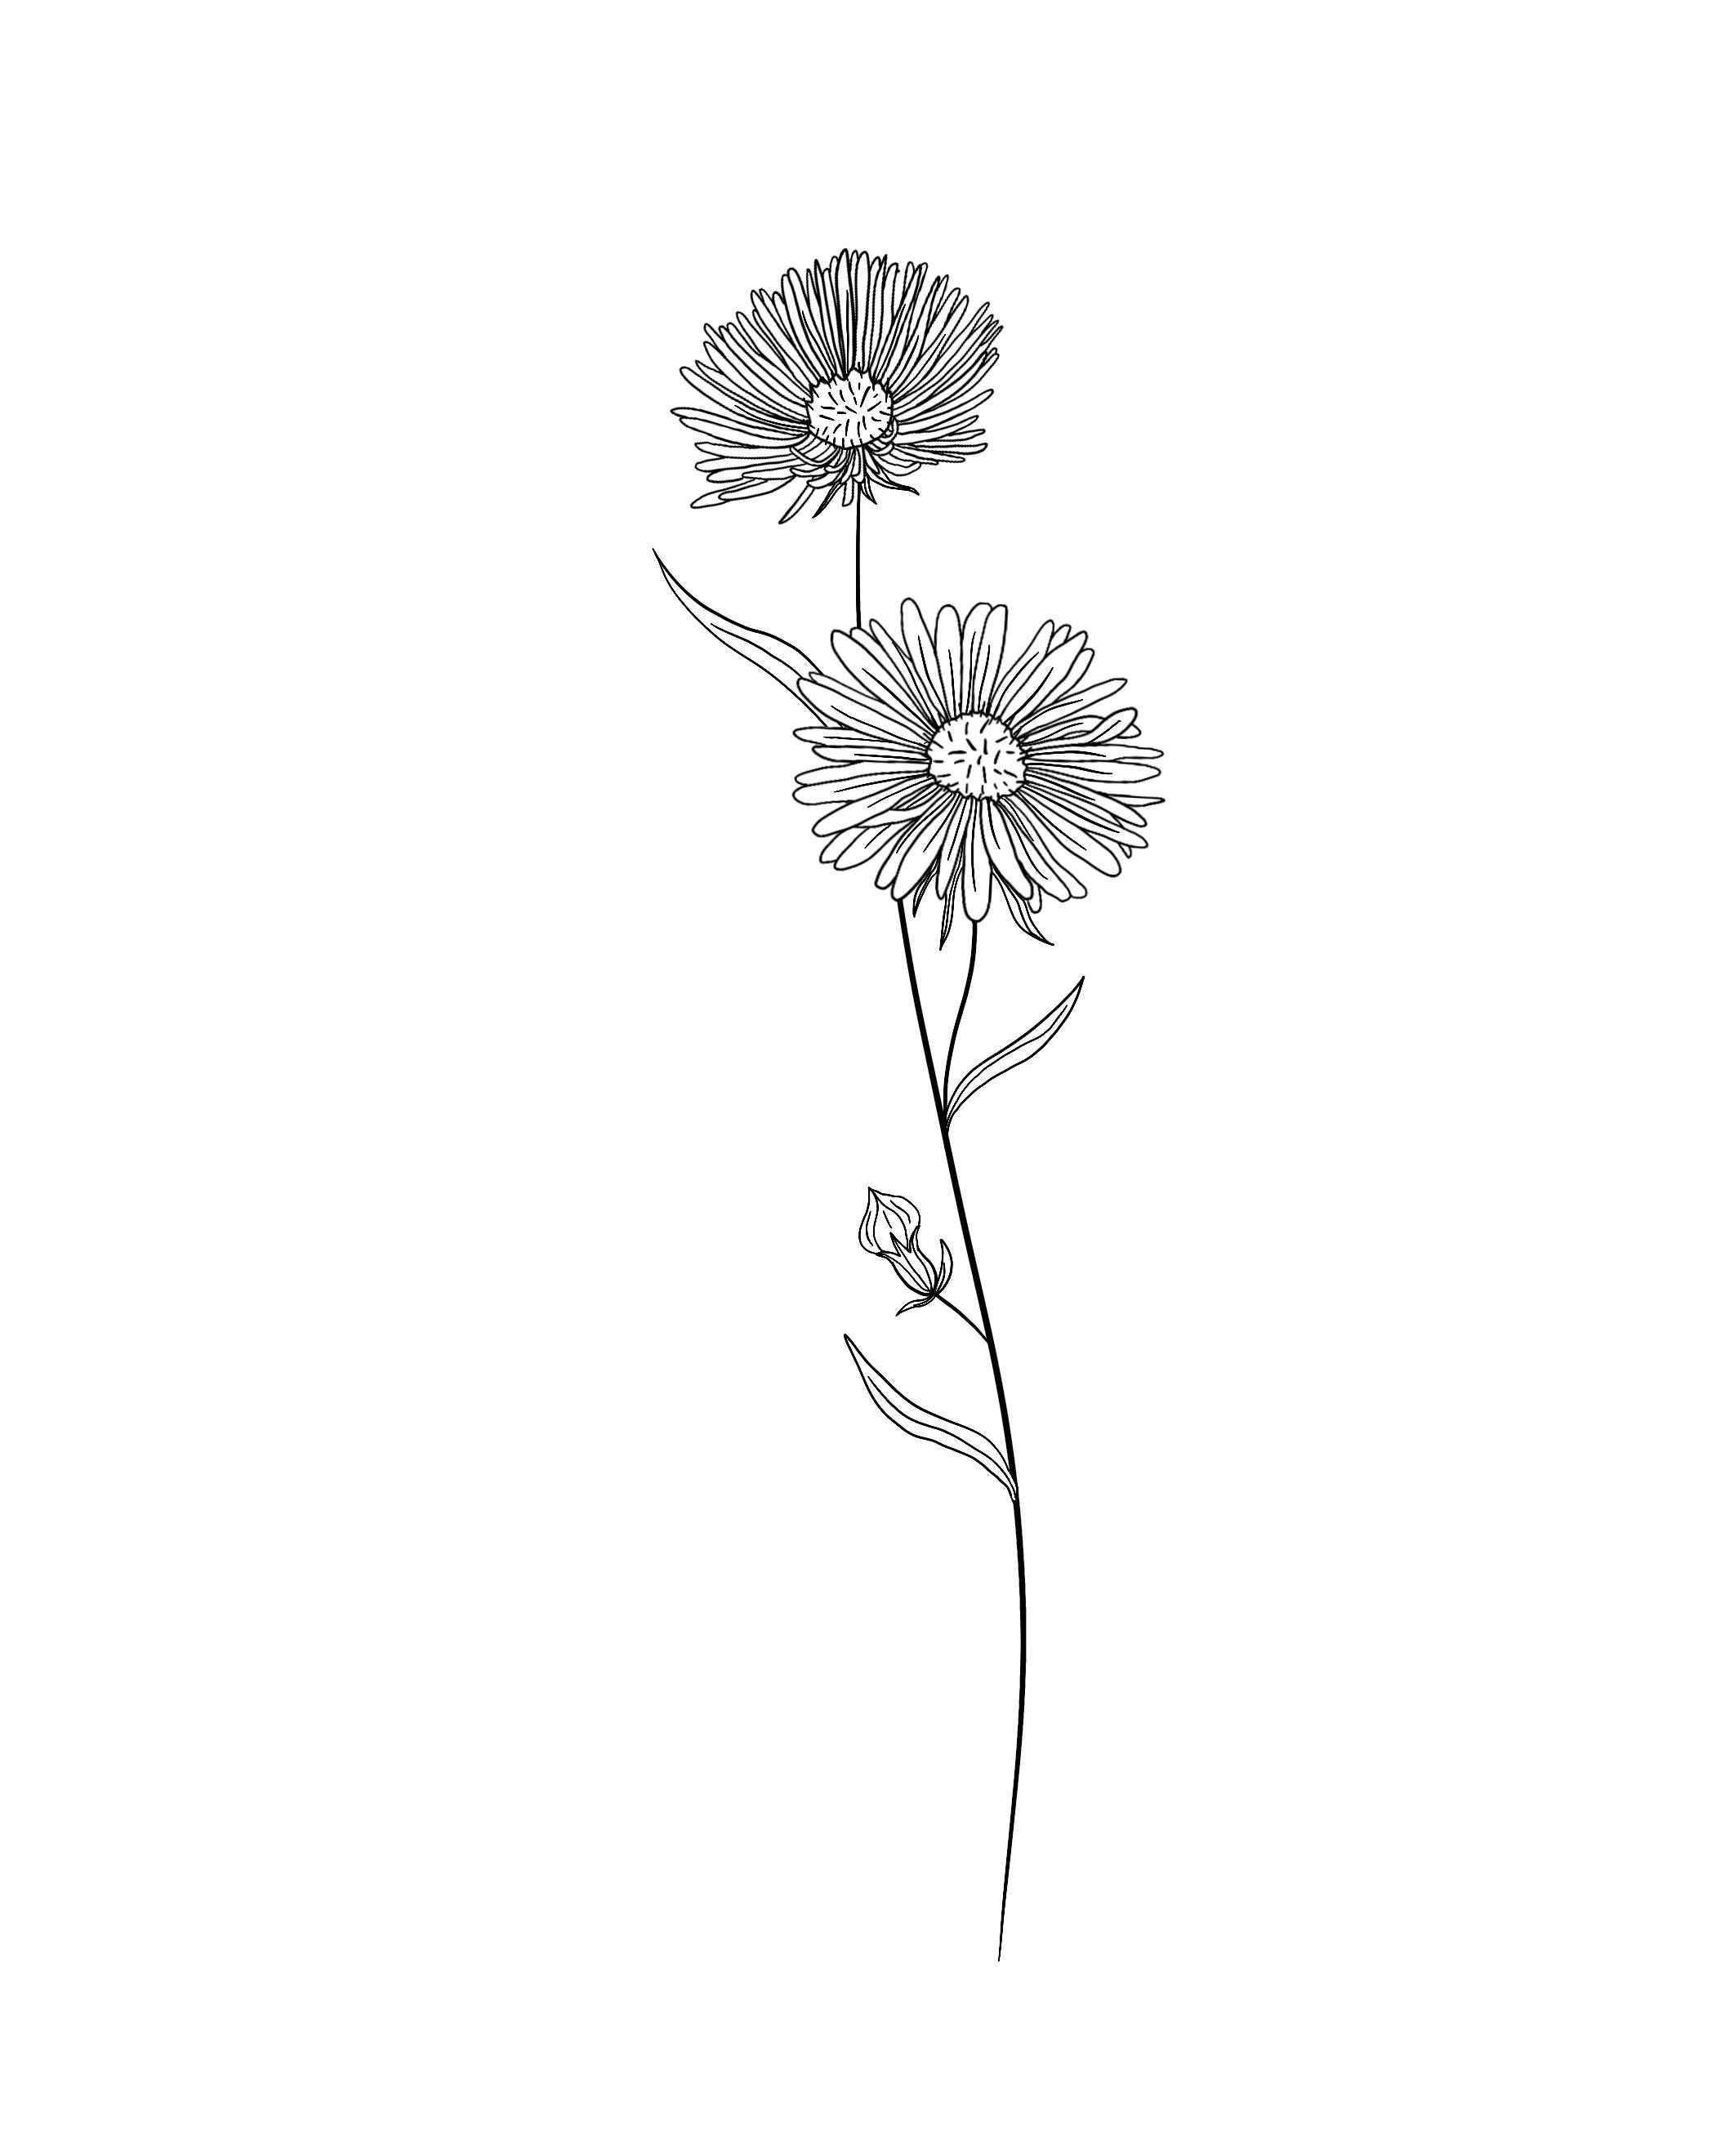
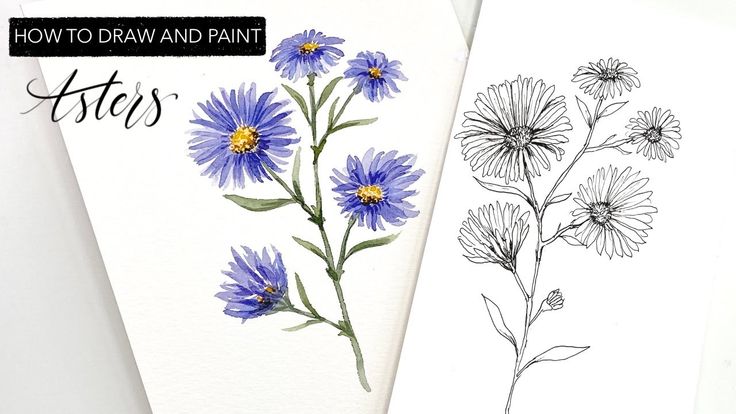
- Asters: They have radial symmetry, numerous thin petals radiating from a central disk. The leaves are lanceolate and often arranged in pairs along the stem.
- Morning Glories: Known for their trumpet-shaped flowers which bloom in the morning. The petals are large and five in number, typically with heart-shaped leaves.
Step 3: Basic Sketching Techniques
Here are some basic techniques to sketch these birth flowers effectively:
Outlines
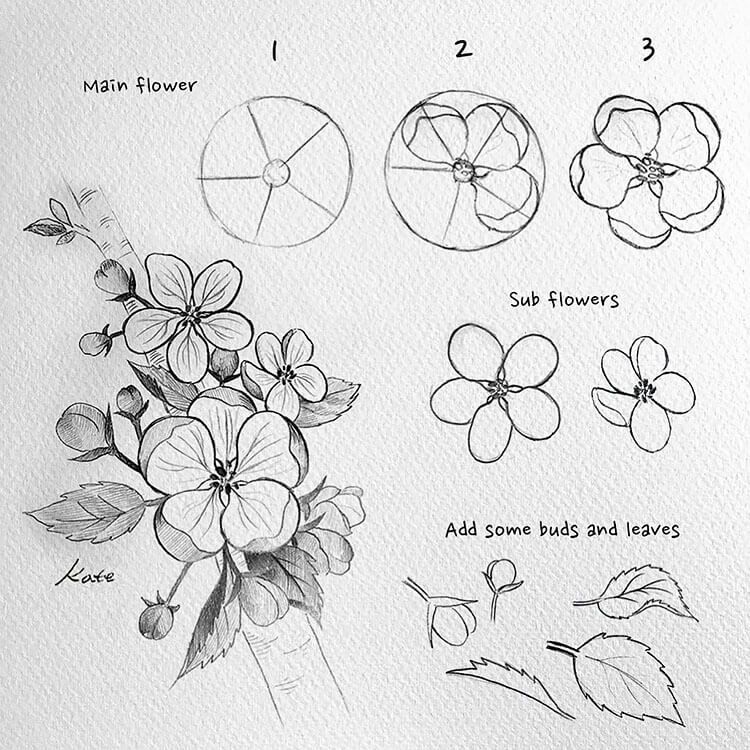
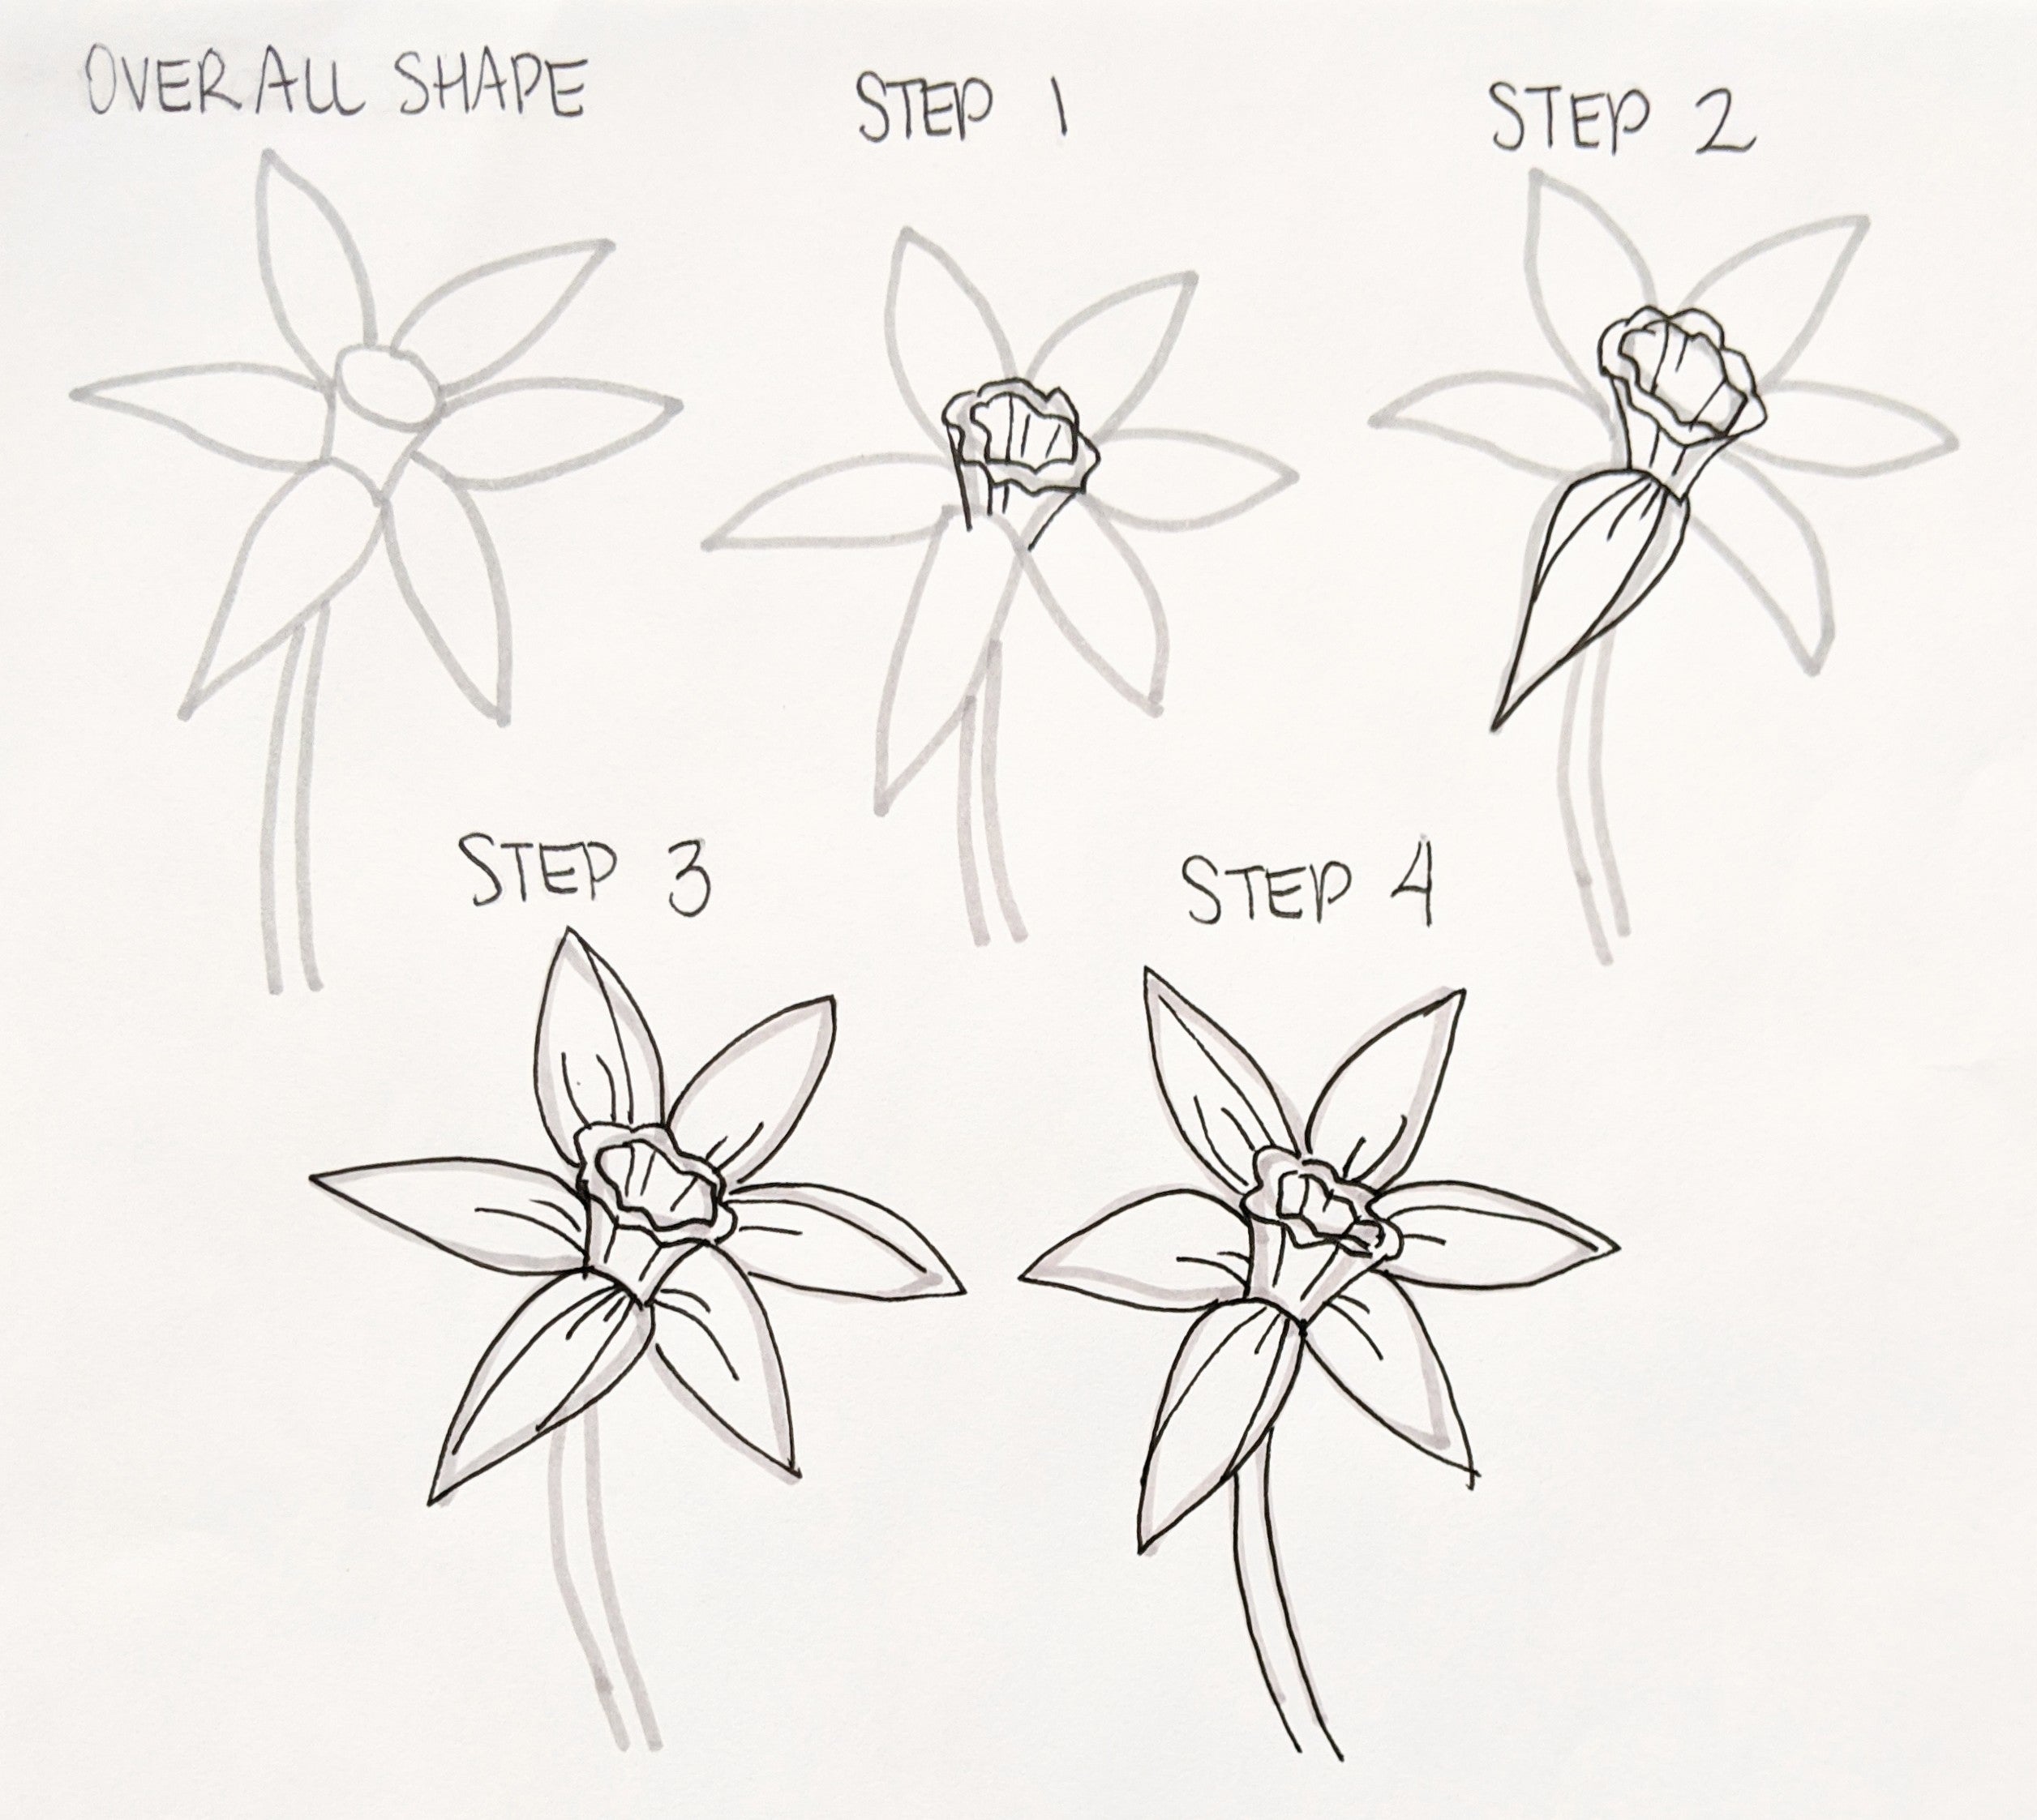
- Use light pencil lines to outline the general shape. For Asters, start with a central circle for the disk and radial lines for petals. For Morning Glories, begin with the trumpet outline.
- Adjust proportions and curvature as needed to achieve symmetry and natural flow.
Shading and Texture
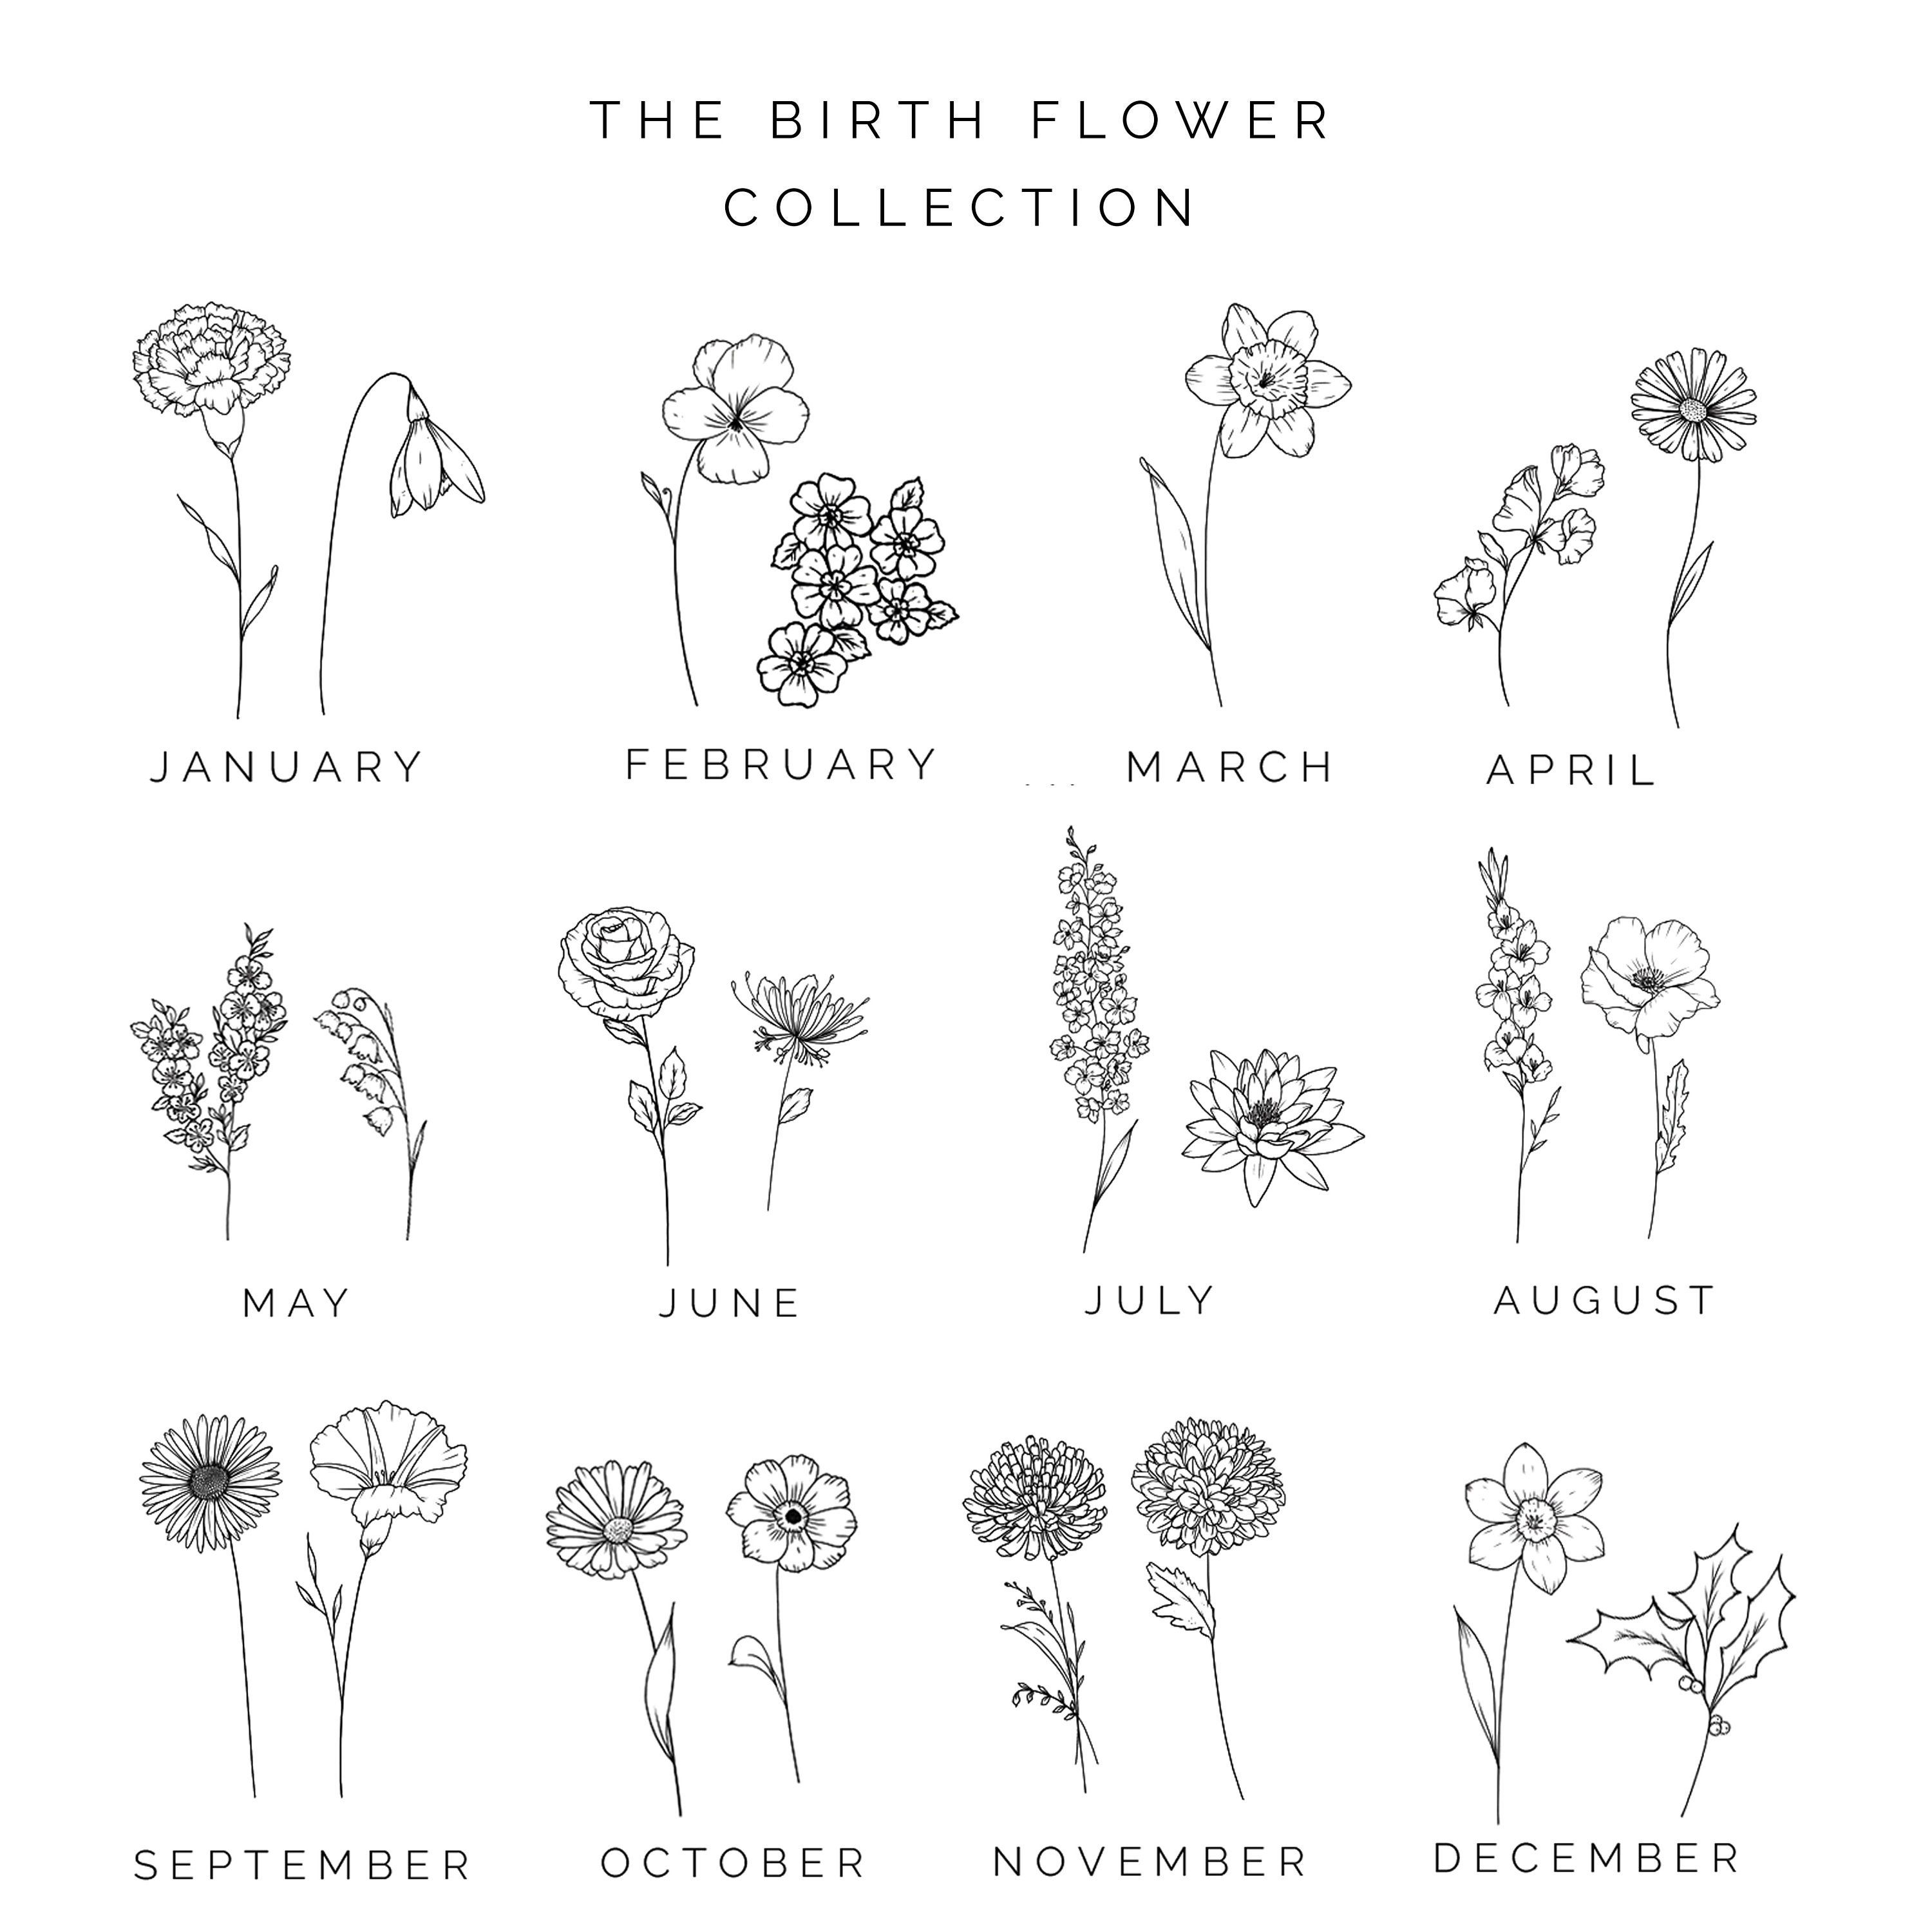
- Asters have a rough texture on their central disk, achieved with small circular strokes. The petals require shading to add depth and simulate thin, delicate layers.
- Morning Glories have smoother petals, shaded with light directional strokes to suggest curvature. Use a sharp pencil for the intricate vein patterns on the leaves.
🎨 Note: Use a reference image or real flowers for guidance on shading and texture if possible.
Step 4: Adding Details

Enhance your sketches with the following details:
- Asters: Draw finer lines to indicate the intricate network of petals. Add texture to the disk with stippling or short lines. Include small, lanceolate leaves.
- Morning Glories: Focus on the trumpet shape, adding depth with shading. Sketch heart-shaped leaves with distinct veins. Capture the morning dew or subtle sheen on the petals.
Step 5: Finishing Your Sketch
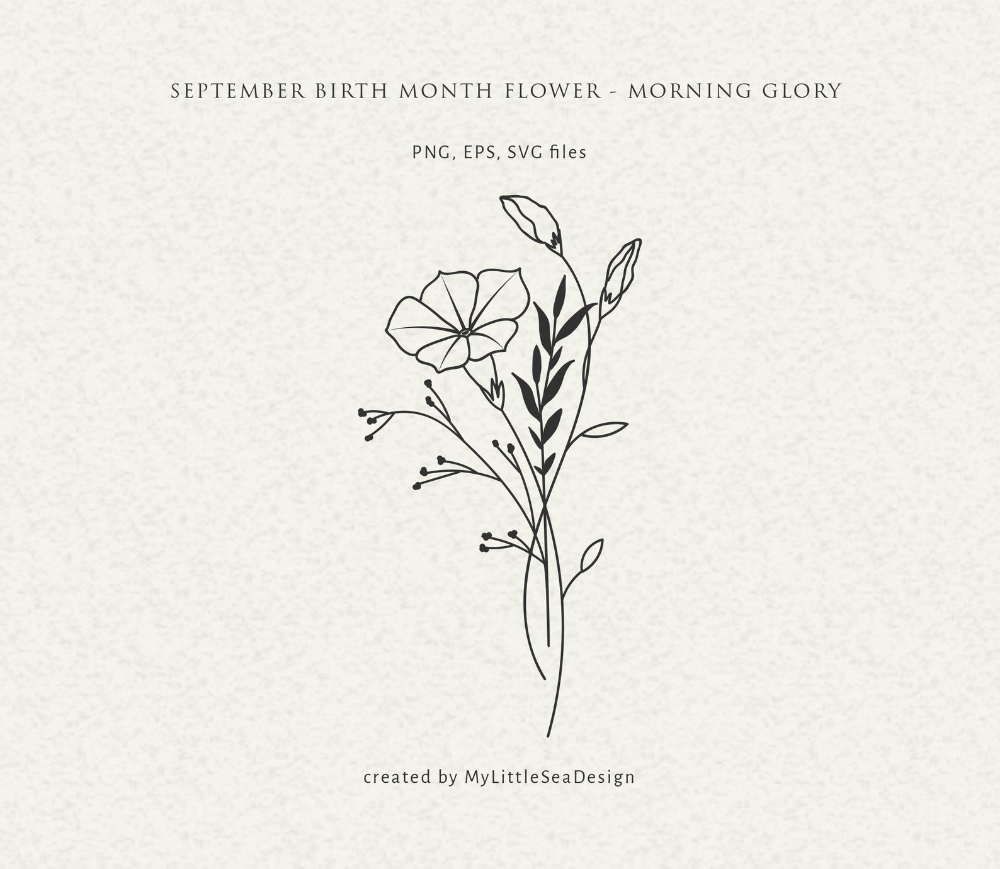
Here’s how to polish your work:
- Refine your outlines, inking where necessary with a fine-tip pen for a more professional finish.
- Add color if you choose, matching the natural hues of the flowers. Asters come in purples, pinks, blues, and whites; Morning Glories can be blue, pink, purple, or white.
- Use erasers to clean up any unwanted pencil marks, leaving only the intended sketch.
- Consider framing or digitally enhancing your sketch for presentation.
🌟 Note: Experiment with different mediums to find the one that best suits your sketching style.
To sum up, sketching September's birth flowers, the Aster and Morning Glory, can be a deeply satisfying artistic endeavor. By following these five straightforward steps, you not only master the art of sketching these beautiful blooms but also engage in a creative process that fosters observation, patience, and appreciation for the minute details of nature. Whether you're an experienced artist or a novice, this activity opens up a world of creativity and serenity, allowing you to capture the essence of these flowers in your own unique way.
What are the main symbols associated with Asters?
+
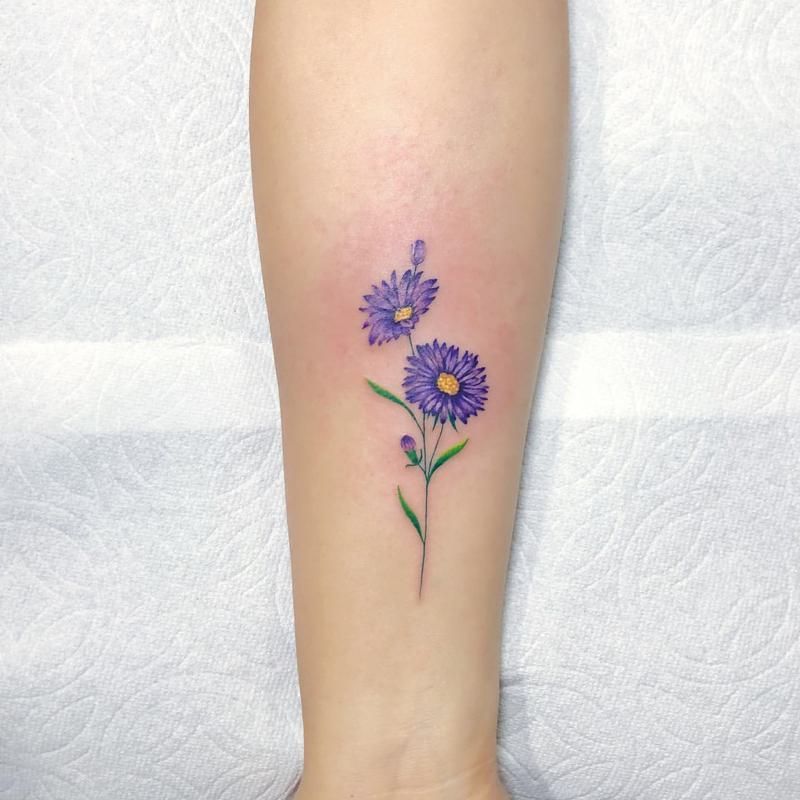
Asters are often linked with love, wisdom, valor, and represent a symbol of patience. They’re also considered to embody the promise of new beginnings, reminiscent of the stars for which they are named.
Can these sketches be used for gift-giving?
+
Definitely! Sketching Asters or Morning Glories can make for a personalized and thoughtful birthday or anniversary gift. You can frame the sketches or include them in handmade greeting cards.
How can I ensure my sketches look realistic?
+
The key to realistic sketches lies in observation and detail. Study the natural flowers closely for reference, focusing on their structure, light and shadow, and the way petals overlap. Patience with shading and texture replication will enhance realism.
Are there any special considerations for shading Morning Glories?
+
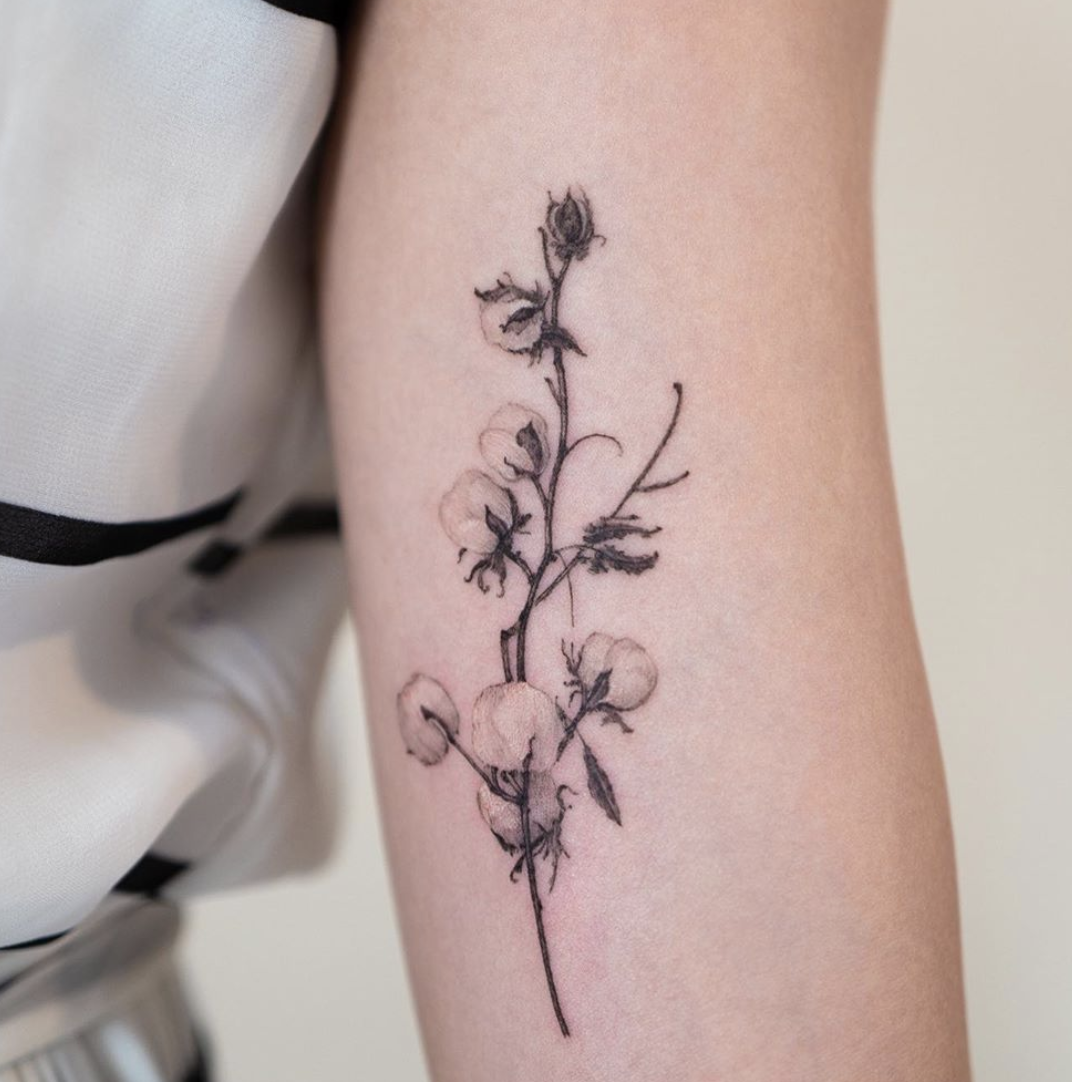
Morning Glories have distinct folds and light reflection. When shading, emphasize the trumpet shape, capturing the light source’s direction on the petals. Use light strokes to mimic the petal texture and give depth.
What tools are best for adding color to my sketches?

+
For colored sketches, colored pencils offer the best control for intricate details. Watercolors can be used for a softer, more painterly effect, while pastels provide a vibrant, textured approach. Choose according to the desired finish and your skill level.
